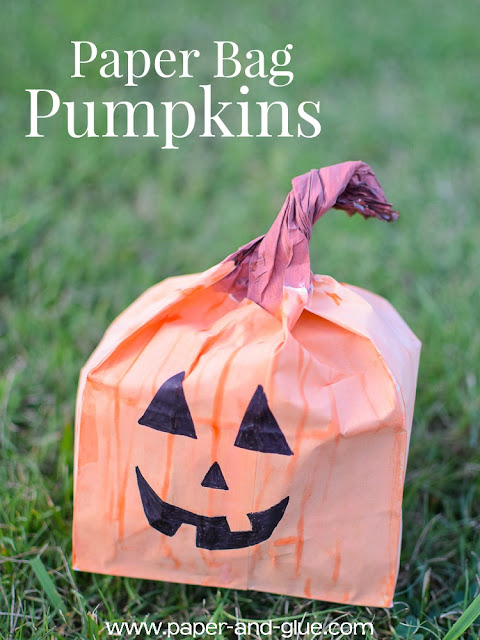
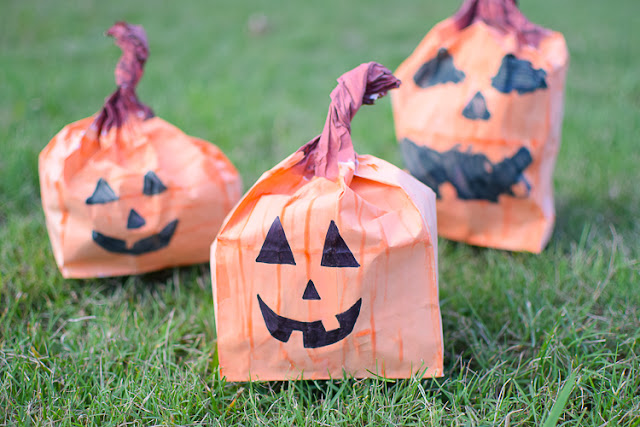
We've added some new little friends to our Halloween decor this year! There's a whole pumpkin patch made of Paper Bag Pumpkins on our mantle, and we had a blast making them. This craft is extra awesome because the finished product will look great on display! You can leave them plain and use them to decorate for fall, or add a jack-o-lantern face and use them for Halloween. Here's how to make them!
[Click HERE For More Great Halloween Crafts And Activities]
This
post may contain Amazon or other affiliate links. If you use these
links, I may earn a commission at no additional cost to you. Click here for my full privacy and disclosure policies.
Gather Materials
Here's what you need to make your own Paper Bag Pumpkins:- white paper bags
- children's paint (orange, brown, and black)
- paintbrushes
- newspaper
- black Sharpie (optional)
Paint Your Paper Bag
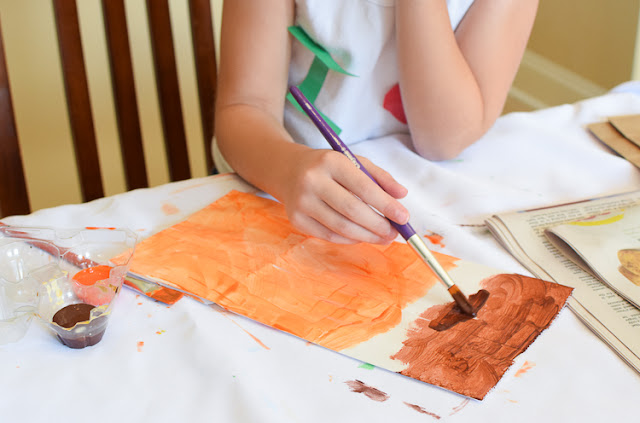
Begin by painting one side of your paper bag. The bottom 2/3 should be orange and the top 1/3 should be brown. We did 2 coats, letting the paint dry in between.
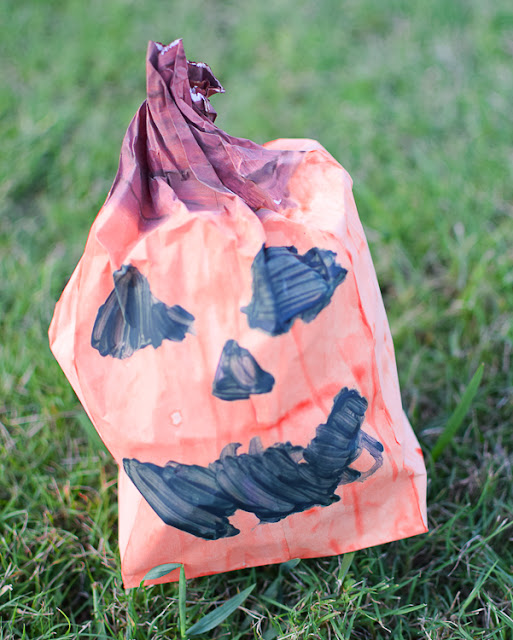
Paint a jack-o-lantern face on the pumpkin. You can also use a Sharpie for a crisper line and blacker color.
Once the front side of the paper bag has dried, open up the bag and paint around the other sides. It helped my daughter for me to stick my hand inside and position and turn the bag for her while she painted.
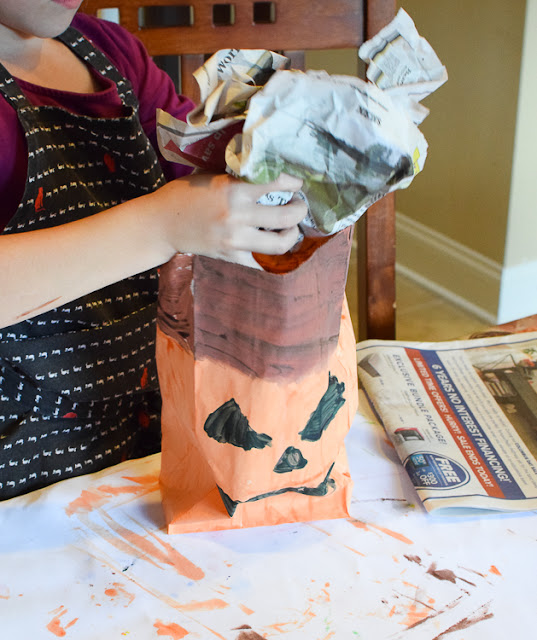
Another option is to go ahead and stuff the bag and then complete the painting, but we found that more difficult.
Stuff the Paper Bag
One full sheet of newspaper crumpled up is a good fit. Stuff it inside the paper bag!
Gather and twist the brown portion into a stem. Ours stayed well enough on their own and didn't need to be secured in any way.
Make a whole pumpkin patch!
You May Also Be Interested In
From Other Great Bloggers
35 Very Cool Things To Do With A Paper Bag from Happy Hooligans
Stuffed Paper Apples from Buggy And Buddy
Easy Paper Strip Pumpkin from Fireflies And Mud Pies
Pinecone Pumpkin Craft from A Dab Of Glue Will Do


