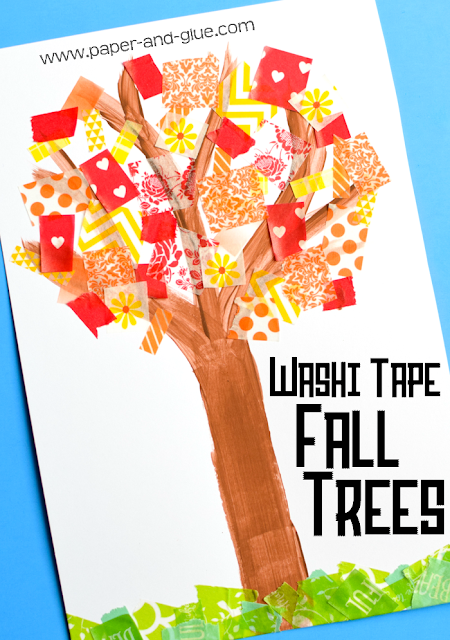
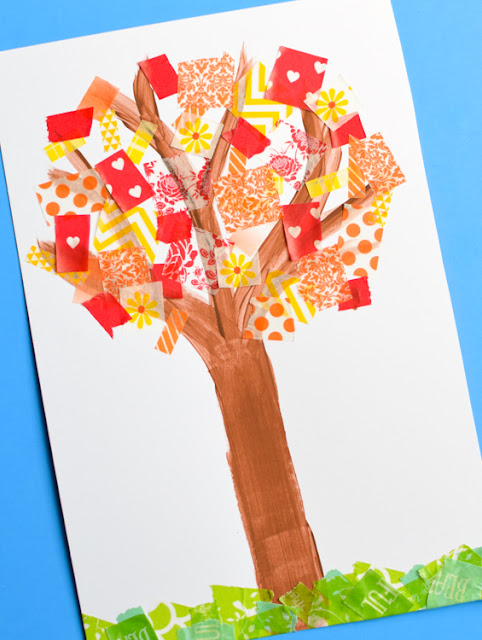
My girls are obsessed with washi tape. They love using it to decorate all their artwork and projects. We put their collection to good use this week when we made these Washi Tape Fall Trees. Little bits and scraps of washi tape in red, orange, and yellow made perfect fall-colored leaves!
Here's how to make your own.
Click HERE For More Great Fall Crafts And Activities
This
post may contain Amazon or other affiliate links. If you use these
links, I may earn a commission at no additional cost to you. Click here for my full privacy and disclosure policies.
Gather Your Materials
To make Washi Tape Fall Trees, you need:
- an assortment of washi tape (ours was from Michaels, but this looks like a good assortment or reds and oranges)
- scissors
- white cardstock or construction paper
- brown paint
- paint brush
Prepare Cardstock and Tree Trunk
I've found that children often do better when making projects on smaller pieces of paper. For almost all of our art, I cut a standard sized piece of cardstock or construction paper in half. It seems to make things much more manageable and my girls don't lose steam or get bored before they've finished.
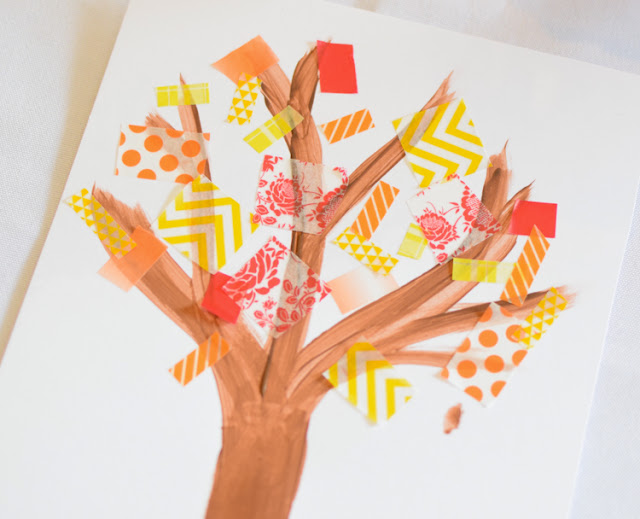
Once you've cut your paper in half, paint a brown tree trunk. It's fairly easy to do. You can demonstrate a basic tree shape for your children and then let them do it themselves. There should be lots of branches so that they can peek through behind the little leaves that will be added.
Add Washi Tape Leaves
Let your child cut or tear small pieces of washi tape and add them to the tree branches. Either way is great fine motor work!
You May Also Be Interested In
From Other Great Bloggers
Washi Tape Wooden Bracelets from Mama Miss
Pumpkin Fun With Washi Tape from The Educators' Spin On It
Washi Tape DUPLO from No Time For Flashcards
Puzzle Piece Fall Tree Craft from I Heart Crafty Things


