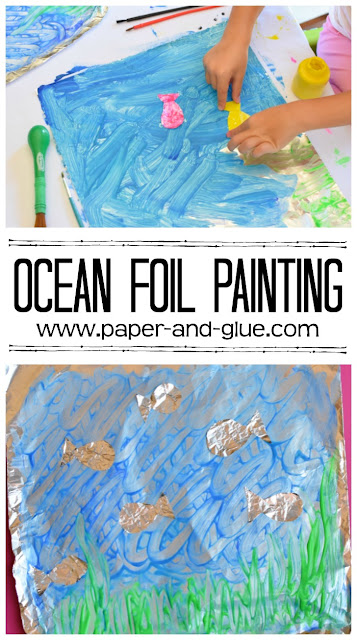
This Summer Process Art Project is a great way to celebrate the ocean! We've never painted on foil before, and my daughters were SO excited to give it a try. They both loved making their ocean scenes. The shimmery and shiny foil was a perfect match for making a glittery ocean. Add this Ocean Foil Painting to your summer project list!
This
post may contain Amazon or other affiliate links. If you use these
links, I may earn a commission at no additional cost to you. Click here for my full privacy and disclosure policies.
Gather Materials
For this project, you'll need aluminum foil, children's paint, paintbrushes, scissors. You'll also need a palette or paper plate for the paint. I provided several shades of blue, green, and white.
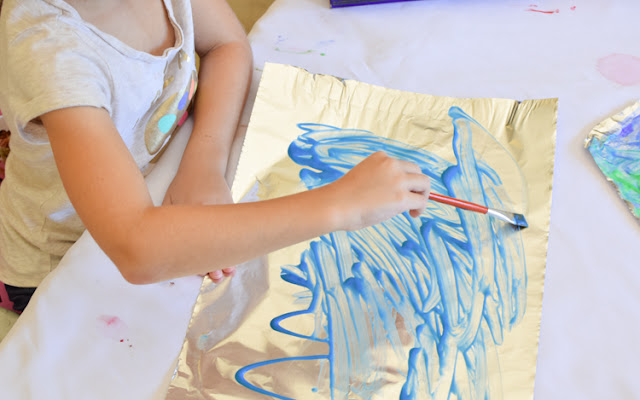
Tear off a piece of aluminum foil, squirt some paint on your palette, and invite your children to the table.
Make An Sparkling Ocean
Start painting! The painting swishes and swirls around the foil - it is very different than painting on paper! Lena started with the blue ocean. Eventually she asked me to squirt some paint directly onto the foil because it was taking a long time to transfer paint from her palette.
Then she moved on to adding waves, and white ocean foam. Eventually she filled in the rest of her ocean.
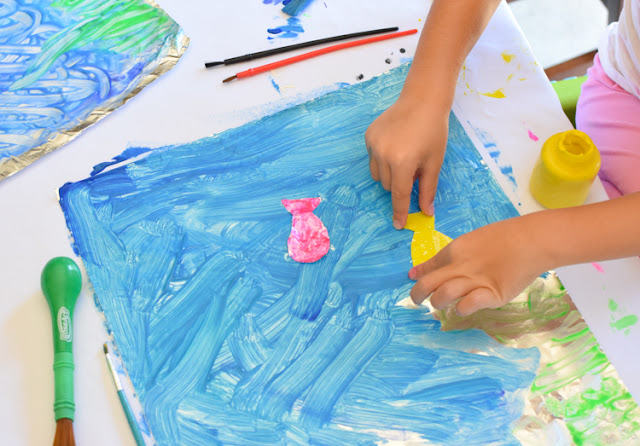
Once you've got an ocean, your child can experiment with the paint, brushes, and foil. It's quite soothing to swirl it around! Next, you can add fish. It is easy to cut them out of foil with regular scissors. I made a small pile of simple fish for my kids to use. They don't need any glue - the wet paint will hold them on and act as a glue.
You can paint the fish either before or after they've been added to the ocean. My daughters experimented with both methods, and each worked fine.
You May Also Be Interested In
From Other Great Bloggers
Rainbow Fish Foil Painting from I Heart Arts N Crafts
Q-Tip Foil Painting from Sunshine Whispers
Fantastic Foil Fold-Over Paintings from Teach Preschool
Tape Resist Art On Foil from Learn - Play - Imagine


