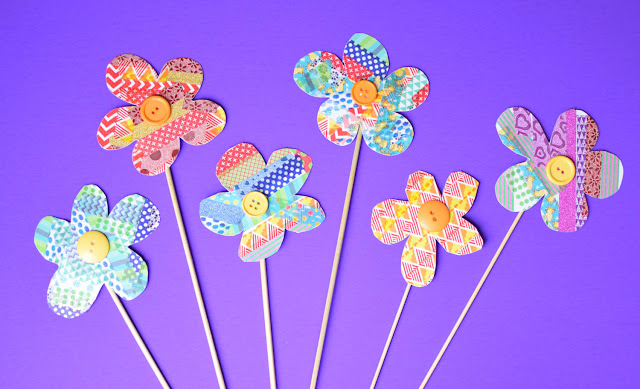
I'm excited to share this fun and easy craft with you today! We've done lots of flower crafts before but these Washi Tape Flowers may be my favorite. They're so bright and beautiful, making them perfect for spring or summer. You can also make them with no mess! With a few simple supplies, you can help develop your child's fine motor skills AND create a beautiful bouquet of flowers. Let's get started!
[Click HERE For More Great Fine Motor Activities]
This
post may contain Amazon or other affiliate links. If you use these
links, I may earn a commission at no additional cost to you. Click here for my full privacy and disclosure policies.
Gather Supplies
You'll need :
- cardstock
- scissors
- an assortment of washi tape (we used this set and this set)
- pencil
- yellow or orange buttons
- school glue
- bamboo skewers, wooden chopsticks, or craft sticks
Prepare And Decorate Paper
Start by cutting your cardstock into smaller pieces. For our flowers, I cut one piece of cardstock into half longways, and then divided each of those long rectangles into thirds. We got six flowers from each piece of cardstock. You could make your flowers larger or smaller.
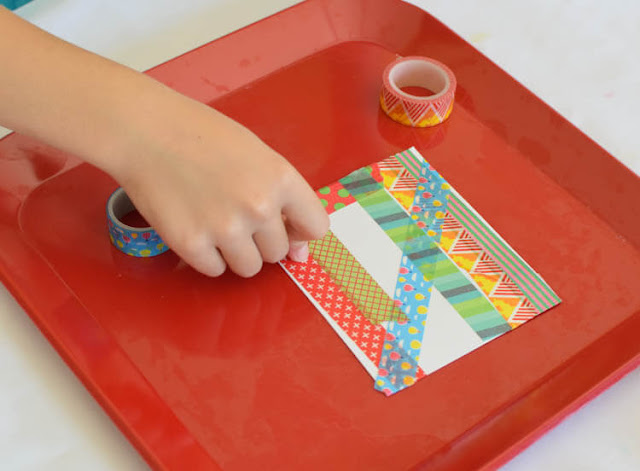
Next, cover the paper with washi tape. You can either cut or tear the tape-- either way is great fine motor work.
Make some of the tape vertical, some horizontal, and some diagonal. The pieces can overlap each other. Be sure to cover all the space!
Draw and Cut Out Flowers
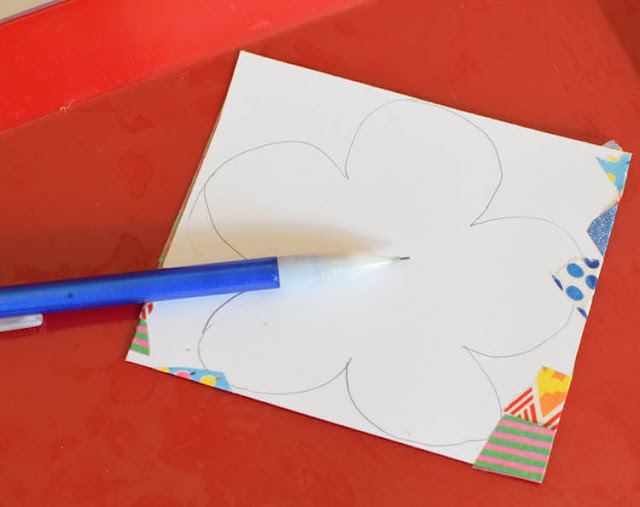
Flip the paper over and sketch a flower shape. Ours had five simple petals, but you could also do simple circles or more complicated designs. Don't be afraid of drawing-- you can do it! Part of what makes these flowers so cute is that they look a little bit wacky!
If you don't feel comfortable drawing the flowers yourself, you can use this printable flower template. You'll find one page with a variety of flowers and one page with a basic 5-petal flower repeated. Just print them and then add your washi tape to the blank side before using the template to cut the flower shape.
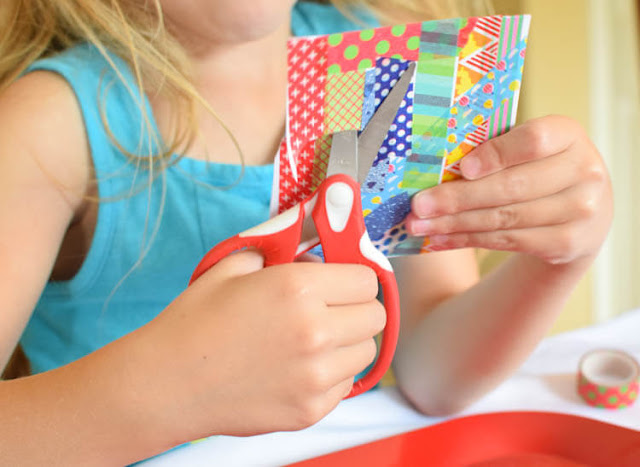
Cut out the flower shapes.
Add A Center and Stem
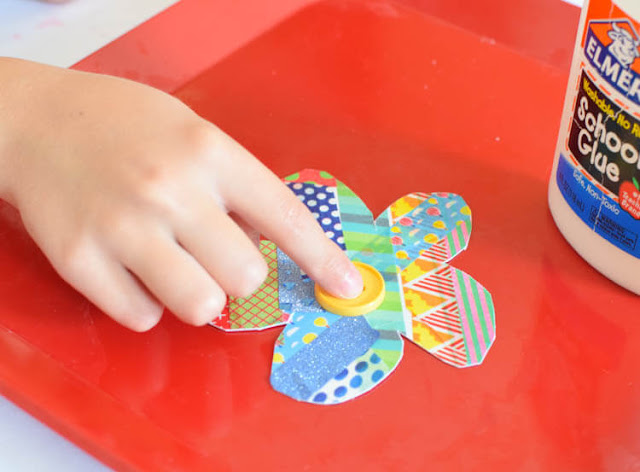
Grab a yellow or orange button to be the center of your flower. Attach it with a small blob of glue. Set aside to dry.
Once the button has dried, it's time to add a stem! You can use whatever you think is most appropriate for your child-- I felt comfortable using a bamboo skewer, but you could also use a wooden chopstick or even a craft (popsicle) stick.
You May Also Be Interested In
Tissue Paper Flowers
Invitation To Create: Flower Garden
Flower Crown- Easy Paper Craft
Our Favorite Spring Crafts And Activities
Invitation To Create: Flower Garden
Flower Crown- Easy Paper Craft
Our Favorite Spring Crafts And Activities
From Other Great Bloggers
Washi Tape Wooden Bracelets from Mama Miss
Washi Tape Pencils And Desk Cup from Happiness Is Homemade
Washi Tape Duplo Blocks from No Time For Flashcards
20 Gorgeous Flower Crafts from Buggy And Buddy


