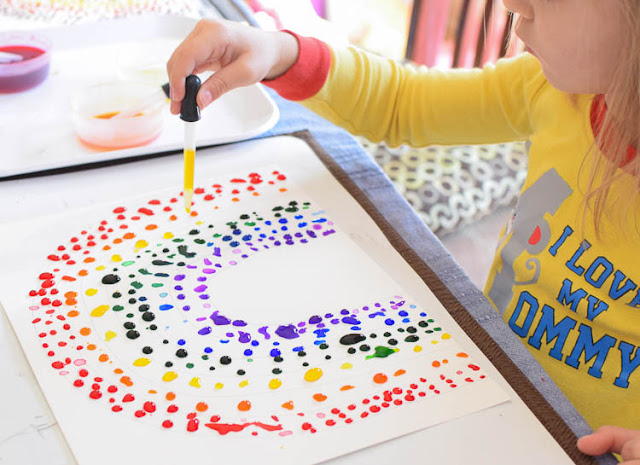
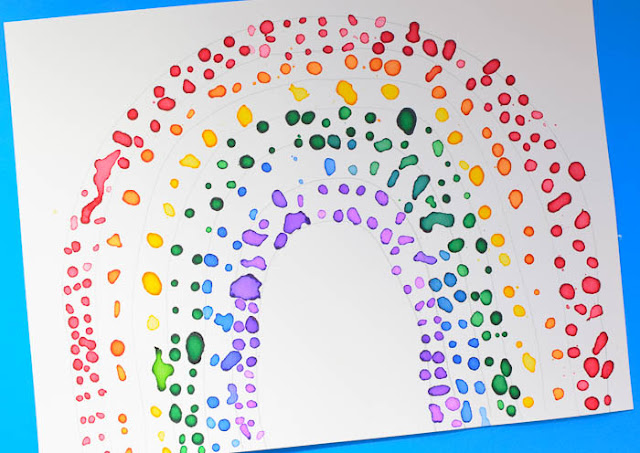
Using eye droppers is a fun and unique way to craft! They are great for fine motor development, and make a really pretty effect. Your kids will love making these Eye Dropper Rainbows as a spring craft this year!
[Click HERE For More Great Spring Crafts And Activities]
This
post may contain Amazon or other affiliate links. If you use these
links, I may earn a commission at no additional cost to you. Click here for my full privacy and disclosure policies.
Materials For Eye Dropper Rainbows
- eye droppers
- watercolor paper*
- liquid watercolors
- pencil
- large bowl
Draw Rainbow Outline & Prepare Paint
While you could try to make your eye dropper rainbow without any outline to help, I wouldn't recommend it! Rainbows are tricky- especially for kids! I took a large serving bowl and traced the top half. Then I just extended the lines straight down to the bottom of the page.
Then add the other color sections by following your outer curve all the way around, but move in about 3/4" to 1". You'll need 6 sections all together. Try to make your pencil markings as light as you can- it is too hard to erase them after you've added the droplets.
Mix up your liquid watercolors and set out 1 eye dropper per color. We mixed ours with about 1 part water to 1 part liquid watercolor. This kept the colors nice and bright.
Make A Rainbow
Show your child how to use an eye dropper by squeezing the bulb, dipping the end into the paint, and then releasing the bulb. My girls have used eye droppers plenty of times, but they still seem to need to be taught every time!
Remind your child to do their best to make tiny drops instead of giant puddles. They can fill in one color section at a time, but we learned that it was easier to do the all the colors of on the left side of the rainbow first, and then go back and complete the right side. My girls are both right-handed, and this kept them from having to worry about smearing the colors with their arm as they worked.
The colors drops will bead up like this, and it will take several hours before they soak into the paper.
When your rainbows are finished, set them aside to dry. Move them carefully so that the water droplets don't roll off the paper or into each other!
Isn't it a pretty project?
You May Also Be Interested In
From Other Great Bloggers
Density Rainbow Science Experiment from Little Bins For Little Hands
Giant Rainbow Collage from The Imagination Tree
Rainbow Ice Tower Excavation from Fun At Home With Kids
Paper Plate Rainbow Yarn Craft from I Heart Crafty Things


