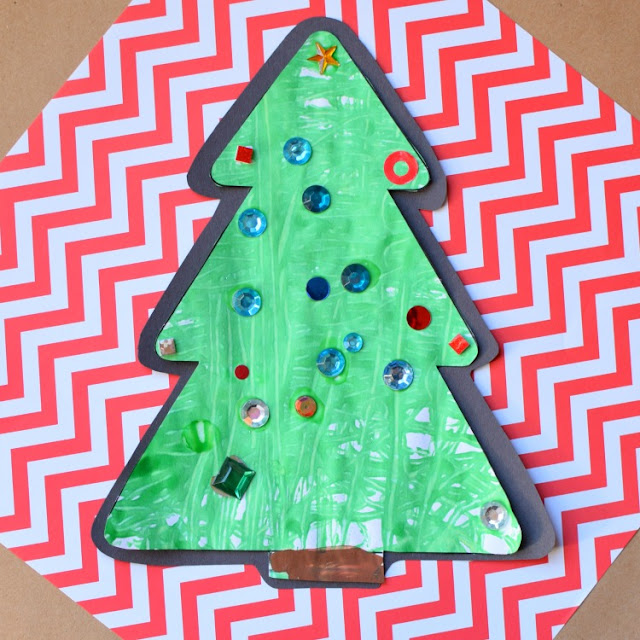
It's no secret that we love marble painting! We've made pumpkins, apples, and turkeys. We couldn't let Christmas go by without making a beautiful Marble Painted Christmas Tree! These were extra fun because the girls added sparkly decorations to the trees after the painting part was finished. Add this process art project to your Christmas craft to-do list!
[Click HERE For More Great Christmas Crafts And Activities]
This
post may contain Amazon or other affiliate links. If you use these
links, I may earn a commission at no additional cost to you. Click here for my full privacy and disclosure policies.
Gather Your Materials
For this project, you'll need:
- kids paint (green and brown)
- card stock
- printable Christmas tree
- 10-15 marbles
- paint brush
- plastic tub or cardboard box
Get Ready To Paint
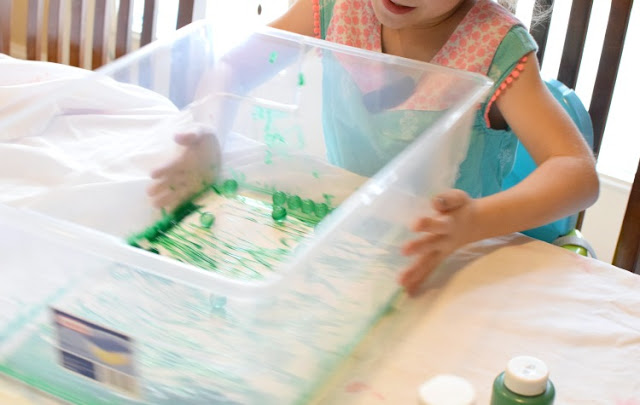
Put your Christmas tree paper in the bottom of the plastic tub. You may need to tape down the corners of the paper at first, but usually by the 2nd painting, the wet paint in the box helps the paper stay in place.
We've also used cardboard box lids for this kind of painting before. Both work fine, but with a deeper tub or box, you don't have to worry so much about the marble jumping out of the box!
Put the marbles in the box, along with several puddles of green paint. You can use several shade of green or stick to one color.
Begin Painting
Ready to paint? Start shaking the box!
If the marbles got stuck in paint or in the edge of the box, you can use a fork or your fingers to nudge them along. You can also give the box a good hard shake to hop them out.
Keep shaking the box back and forth until the Christmas tree is covered as much as your children would like.
After we did a few trees with plain paint we got CRAZY and added glitter to the box. Sparkly trees are awesome, too!
Set your trees aside to dry. I thought the trees looked good with some white from the paper still showing, but my girls both wanted to cover theirs completely! Even so, they enjoyed making different patterns with marbles by rolling them in different directions.
Decorate The Christmas Tree
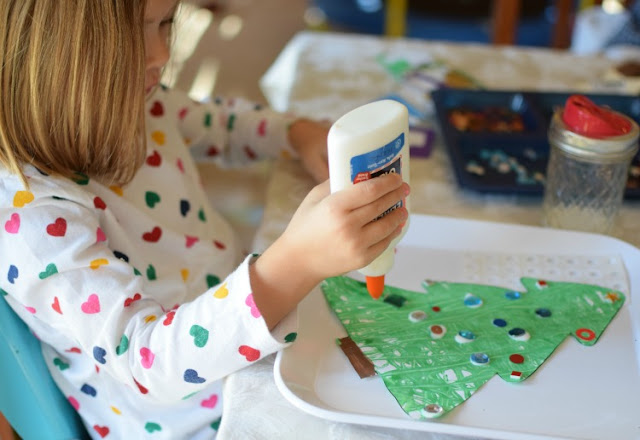
Once the paint has dried, cut them out. You can leave the project finished now, and they're already beautiful! Of course my girls wanted to make them "fancy"!
I pulled out all sorts of sequins, stickers, and rhinestones and let them go to town.
This was almost like a whole separate project! There was lots of great fine motor work involved, with glue sqeezing, placing jewels, and peeling stickers.
You May Also Be Interested In
From Other Great Bloggers
Christmas Tree Sensory Bag from Mom Inspired Life
LEGO Christmas Tree Fine Motor Activity from Powerful Mothering
Paper Plate Christmas Tree Craft from Easy Peasy And Fun
Salt Dough Handprint Christmas Tree Ornaments from The Imagination Tree


