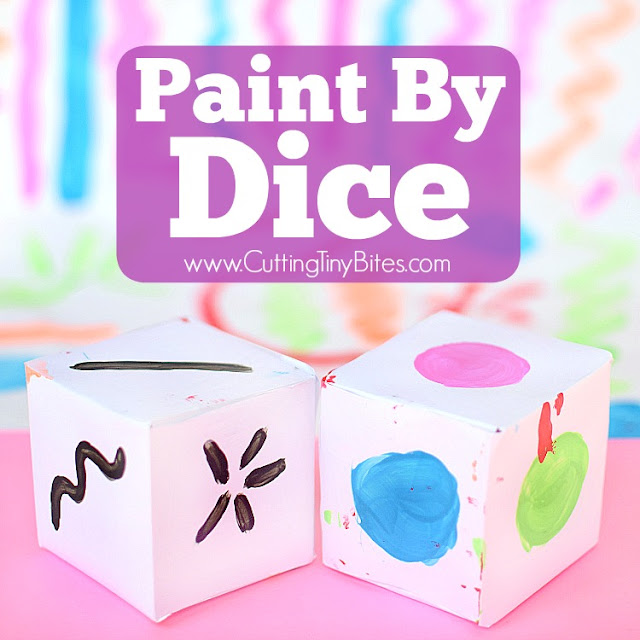
I am SO excited to share this fun process art activity with you! I call it "Paint By Dice." Get it-- like paint by number?! Maggie doesn't always like to paint, but even she was eager to get in on this activity and she LOVED it! Here's how it works.
This
post may contain Amazon or other affiliate links. If you use these
links, I may earn a commission at no additional cost to you. Click here for my full privacy and disclosure policies.
Gather Your Materials For "Paint By Dice"
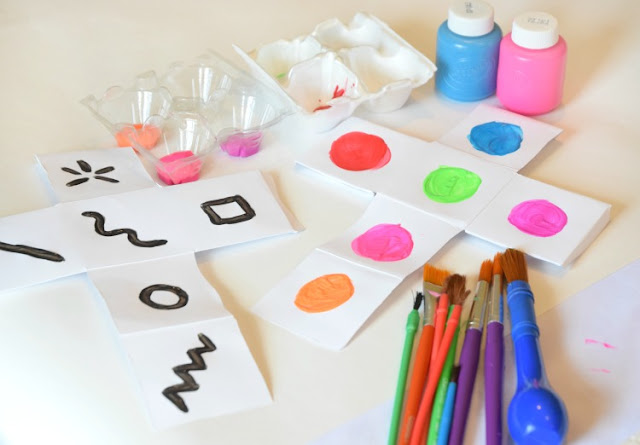
You need paper (duh)- we used paper from our giant paper roll. You also need paint- we used Neon Crayola Washable Kids Paint and paintbrushes. Finally, you need a printable dice template.
Prepare Your Materials
Print and cut out 2 copies of the die template and get it all folded and ready to tape together. We used cardstock to make it nice and sturdy. Before you tape it together, add the elements of your activity. On one die, paint small circles of 6 different paint colors, one on each face. On the other die, paint simple objects or shapes that your child can paint. My girls are young, so we kept things simple. We added a straight line, curvy line, zig-zag line, circle, square, and star burst.
Let the paint dry on your dice and then tape them together. In the meantime, you can set out paper and paint for your kids.
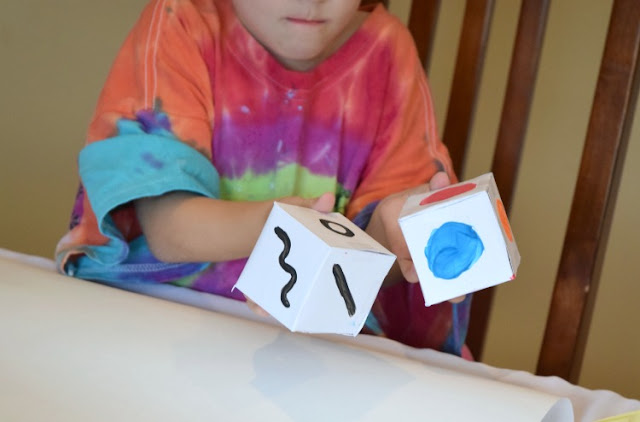
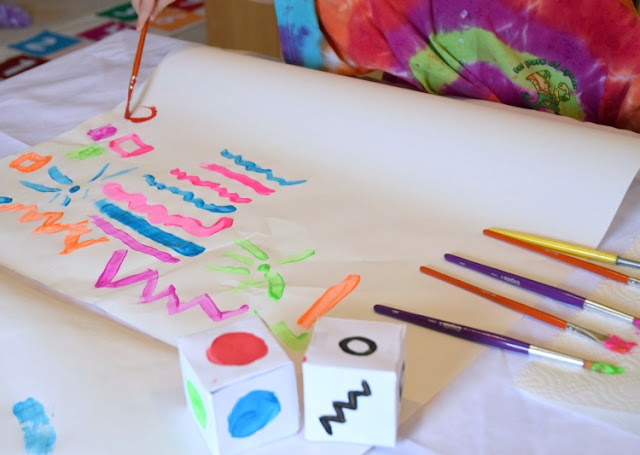
If pink and zig-zag line came up, the girls painted a pink zig-zag line. Green on one cube and a circle on the other meant that they painted a green circle.
I reminded them regularly that their lines or shapes could be big or small, thick or thin, and that they didn't need to "match" the image on the die exactly. A curvy line, for example, could be like a little worm, a spiral, or a big rainbow arc. A circle could be open or filled in. A starburst could be a star or a firework, or even a flower.
Lena was very methodical in her painting. She started at the top of the paper and worked her way down. She kept things in neat and tidy rows and groups, and she wanted to keep painting until her whole paper was filled.
Maggie was a little more free spirited in her painting! Some shapes were GIANT! Some were teeny tiny. Things were all over the place, and she was finished when she was finished.
This process art was a great way for us to spend an afternoon. Both of my girls, with their very different personalities and different art preferences, loved it. I think it'd be a great activity for a classroom- it would be really interesting to see how different all of the paintings came out!
You May Also Be Interested In
From Other Great Bloggers
Soap Foam Process Art from Mom Inspired Life
CD Process Art from Preschool Inspirations
Funnel Painting Process Art from Still Playing School
Broom Painting Process Art from Homegrown Friends


