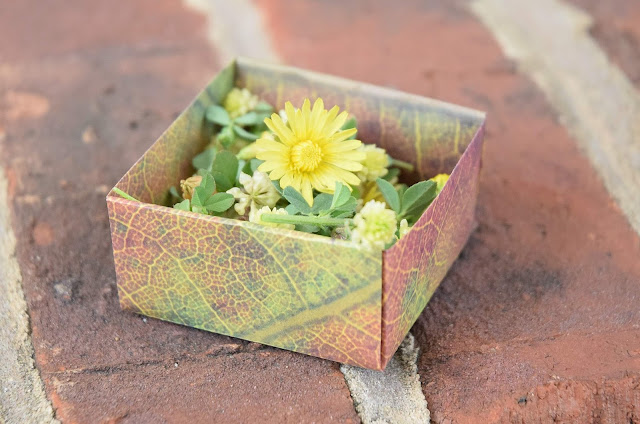
Origami is such a great craft for kids! It is so amazing to see what you can do with a single sheet of paper! Not to mention how fantastic it is for developing fine motor skills! Lena really enjoyed making our Origami Crowns a few weeks ago, so I decided to show her (and you) how to make an Origami Treasure Box. After all, kids are always collecting and making all sorts of treasures, right? They need a place to put them all! Let's get started.
This
post may contain Amazon or other affiliate links. If you use these
links, I may earn a commission at no additional cost to you. Click here for my full privacy and disclosure policies.
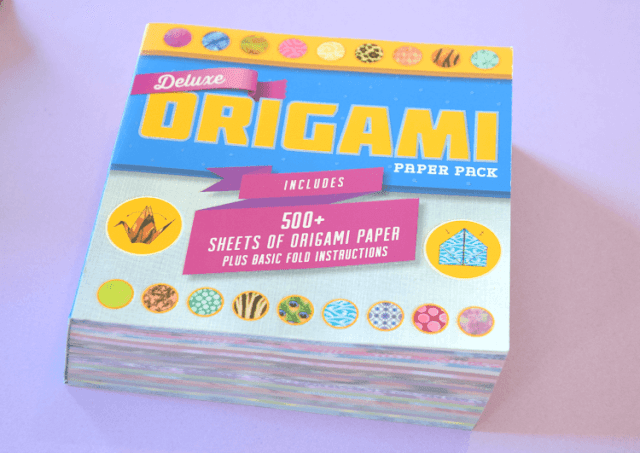
Start with standard origami paper. A 6" x 6" sheet of paper will make a box that is about 2" x 2" and 1" tall. You can also find larger origami paper if you want a bigger box.
With the printed side down, fold the paper horizontally to make a crease in the middle of the paper. Open it up. Next, fold the paper vertically, to make another crease. Open it up. The point where the two creases cross is the center point of your paper.
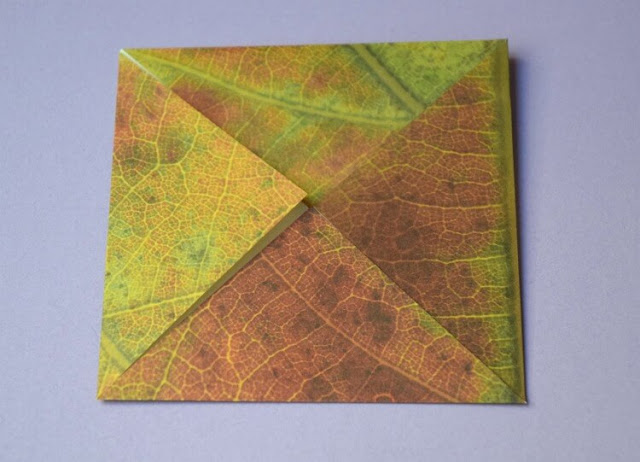
Fold one corner of the paper down to the center point. Crease well.
Repeat with the remaining 3 corners.
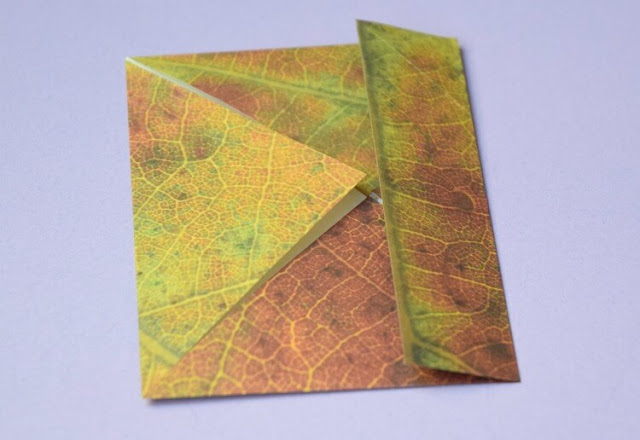
Fold one vertical edge over to the center point.
Repeat with the other side.
Open it up, leaving lots of fold lines and 2 triangles pointed toward the center.
Fold the bottom up to the center point.
Repeat with the top.
Open up those top and bottom folds that you just made. They'll become two of the side edges of the box. Can you see the boxiness?
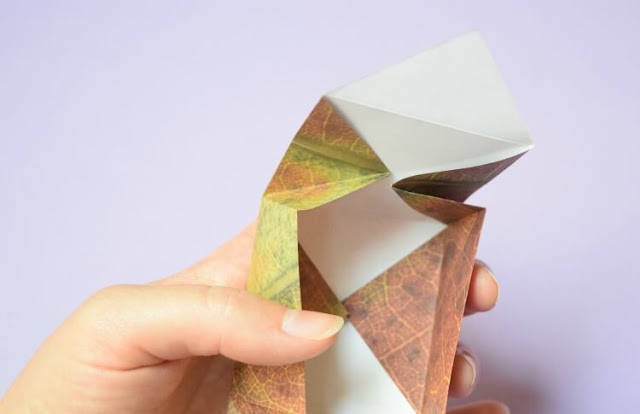
Now it's time for the trickiest bit. Once you get the hang of it, it's a piece of cake. Lena has turned the box a bit so that one of those box edges you just made are on the sides and the open part is at the top. You're going to take the point right above Lena's thumb and push it gently inwards to the point where Lena is pointing, right in the center, along a fold line.
Then you'll repeat on the other side. Here's a few more pictures to help you see.
You've just made another edge of the box.
Press it up to align with the rest of the edges.
And then keep folding it down so that the point meets in the center of the box with the other 2 side points that you've already made.
Repeat the crazy fold on the other side, and make the point meet in the middle.
Neaten up any fold lines if you need to, and you're all done!
If you want to make a box with a lid, simply cut about 1/4" off of each edge of the paper. You'll end up with a box that will fit neatly inside the larger box.
Lena loved this origami project, and made several of her own treasure boxes.
She was able to do all of it except for the last tricky bit, which I helped her with. I think most children age 7 or above could manage the whole thing on their own.
Ready for treasures!
What kind of treasures will your kids find to fill their boxes with?
You May Also Be Interested In
From Other Great Bloggers
All Things Origami For Kids from The Art Curator For Kids
Simple Origami Heart Garland from Mama.Papa. Bubba.
Kids Treasure Box Made From Popsicle Sticks from Powerful Mothering
Egg Carton Treasure Chest from Red Ted Art


