Several weeks ago, I picked up a pack of origami paper on a whim. Since we love simple paper crafts so much, it seemed like something we'd enjoy! And it was! Lena (age 5.5, with good fine motor skills) was just the right age to begin learning some basic paper folding. Since we seem to have a thing about headgear (like this Dinosaur Hat and Valentine Crown), an origami crown was the perfect first project for us.
This
post may contain Amazon or other affiliate links. If you use these
links, I may earn a commission at no additional cost to you. Click here for my full privacy and disclosure policies.
Origami is a great way to introduce some geography and culture to your children. It doesn't have to be complicated! I started by explaining that origami was the Japanese tradition of paper folding. We found Japan on the map, and for inspiration I found some really great images of advanced origami through a Google image search. Lena couldn't wait to begin.
For most children, you'll need 6 sheets of paper. Ours came from this pack (but be sure to read the reviews). The crown is fairly adjustable, so the measurement doesn't have to be precise. You'll fold 6 triangle pieces and then connect them. Let's get started!
Start with one sheet of paper.
Flip it over, so that the colored side is facing down.
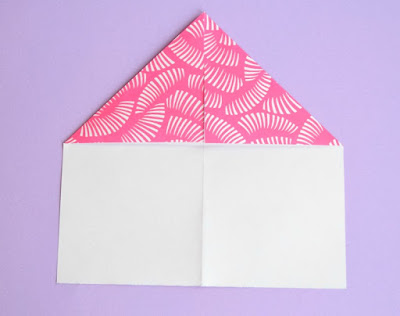
Fold the paper so that the top and bottom meet. Crease, and unfold. Next, fold the paper so that the sides meet. Crease, and unfold. You'll have a cross in the middle of your paper.
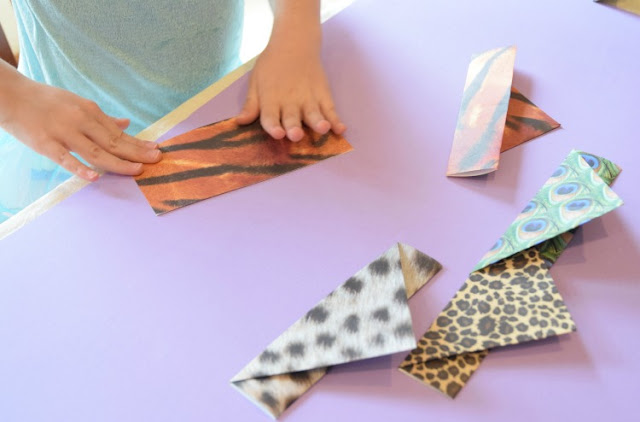
Make 5 more triangles, so that you have a total of 6. When you flip them over, they should look like this.
Next it's time to attach them together. Pull the tips of the triangles down just a bit. The picture doesn't make their colors perfectly clear, but I'm calling the triangle on the left pink and the triangle on the right purple. Slide the rectangular area of the purple triangle into the rectangular area (there's a fold-- it opens up) of the pink triangle. Basically the whole purple piece should slide into or behind the pink piece.
Flip the triangles back up along the crease. You should see the pink triangle coming in front of the purple triangle, and the rectangular area of the purple triangle sliding into the rectangular area of the pink triangle. Slide the purple piece in as far as it will go.
Continue connecting the triangles, and finally connect the last one in order to form a complete circle. You can adjust the size of the crown by sliding the pieces in or out from one another a little.
This was a lovely first origami project for my 5-year-old daughter, Lena. First, she LOVED picking out her papers to use.
The fold pattern is simple enough that most kids can probably pick it up after showing them once or twice.
Lena made her 6 pieces and then needed a little bit of help connecting them. That's the trickiest bit!
Lena absolutely loved this project, and she's already been begging for more origami!
You May Also Be Interested In
From Other Great Bloggers
Books About Japan from The Educator's Spin On It
Japanese Woodblock Prints for Preschoolers from The Art Curator For Kids
Q-Tip Painted Handprint Cherry Blossom Tree Craft from Glued To My Crafts
The Great Wave Art Lesson from Deep Space Sparkle
This post is part of a Kids Crafts Around The World series hosted by Made With Happy. Be sure to check out all the other great crafts and activities!
This post is part of a Kids Crafts Around The World series hosted by Made With Happy. Be sure to check out all the other great crafts and activities!


