When I was a little girl, I LOVED to sprawl out on our kitchen floor and make crayon rubbings of the textured laminate floor. I must have done it a hundred times!
I think all children love crayon rubbings- there's just something really fun about watching the patterns and shapes appear! Lena and Maggie really enjoyed these DIY Spring and Easter Crayon Rubbings and may be on their way to crayon rubbing obsession.
Here's how to make your own crayon rubbing plates.
[Click HERE Fore More Great Spring Crafts And Activities]
This
post may contain Amazon or other affiliate links. If you use these
links, I may earn a commission at no additional cost to you. Click here for my full privacy and disclosure policies.
Prepare Rubbing Plates
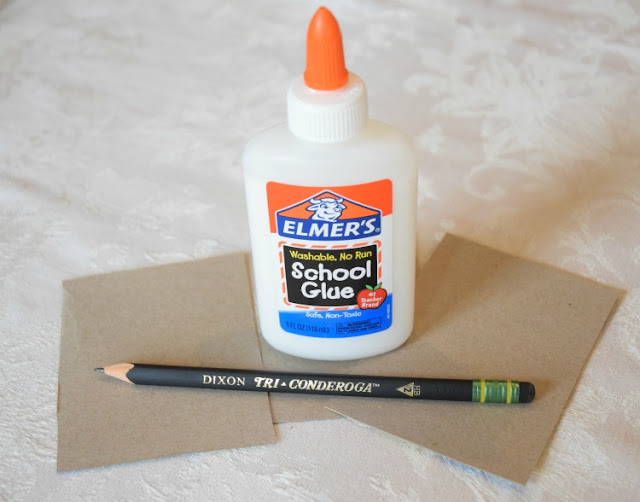
Cut your box board into small pieces. Draw simple spring or Easter designs with a pencil. We did one set of Easter eggs and another set of flowers. You could also draw a sunshine, bunnies, chicks, or Easter crosses.
Go over the drawings with school glue. Older children could do this step on their own.
Set the rubbing plates aside to dry.
Complete Crayon Rubbings
When the glue has dried, grab some paper and crayons with the wrappers removed. We found that jumbo crayons were much easier to hold!
Place a rubbing plate under the paper and rub the side edge of the crayon onto the paper, and watch the shape or design appear!
Figuring out how to hold the paper and manipulate the crayon in this unusual way is a fantastic fine motor exercise for young children. They'll have to use very different muscles than normal coloring! Maggie (age 4) needed a little help holding the paper still.
You May Also Be Interested In:
Mystery Number Crayon Rubbings from Nurture Store
Sponge Painted Easter Basket from Buggy And Buddy
Coffee Filter Easter Wreathfrom Happy Hooligans
Borax Crystal Flowers from Go Science Girls
Sponge Painted Easter Basket from Buggy And Buddy
Coffee Filter Easter Wreathfrom Happy Hooligans
Borax Crystal Flowers from Go Science Girls


