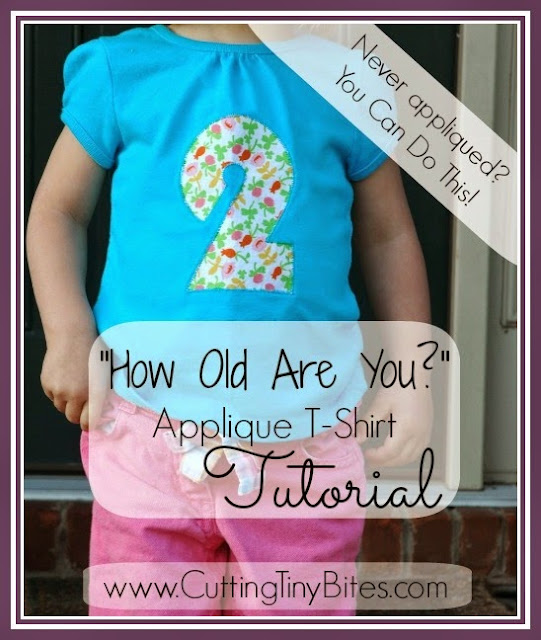
When my older daughter was turning 2, I bought her a T-shirt for her birthday that said, "I Am 2". I found it online, through a major clothing store. She loved it, and wore it ALL the time, so I bought her another one when she turned 3. Then, recently when baby sister was about to turn 2, I waited too long to order her shirt, and they were sold out of her size. I realized that I could quickly and easily make her one that would be even more special than the ones we already had. So I made her one. And then I made them for all of our little friends whose birthdays we will be celebrating soon.
These little T-shirts make great gifts, are inexpensive to make and quick to put together-- I promise that you'll be done in an hour!
This
post may contain Amazon or other affiliate links. If you use these
links, I may earn a commission at no additional cost to you. Click here for my full privacy and disclosure policies.
 |
| Hooray! I love my shirt! |
Gather Your Supplies
- 1 plain T-shirt, washed and dried (harder to find than you might imagine-- I got mine at Old Navy and Wal-Mart)
- Tiny bit of fabric for your applique, washed and dried
- Heat'n Bond Lite, Sewable Iron-On Adhesive (or something similar)
- Stabalizer
- Basic sewing supplies (thread, scissors, etc.)
Prepare your applique
Using your word processor and printer, print a large number in a thick, chunky font. I used the font 'Bauhaus 93' set at something like 600 pt. font. Experiment to find what you like, and what will look good on your shirt.Cut out your number.
Prepare your fabric for applique
Cut a small square of your fabric that will be large enough for your number. Cut a matching size piece of Heat'n Bond. Peel one side of your Heat'n Bond, iron onto fabric according to package directions.
Now one side of your fabric will be fabric, and one side will be the paper backing of the Heat'n Bond. Trace your number that you prepared onto the paper side of your fabric. Make sure to flip it, so that when you cut it out the number will not be reversed on the fabric side.
Cut out your number from your fabric.
Iron the applique to the T-Shirt
Peel the paper from the Heat'n Bond, and iron on to your shirt in desired location according to package directions. I actually use a ruler to make sure that it is centered.
Prepare stabalizer
Place a small piece of stabalizer on the inside of your shirt, right underneath where you're going to sew. Make sure it's lined up and in the right place!
Sew your applique to T-shirt
Set your machine to a zig-zag stitch. I use my machine's default settings, which is a width of 3.5mm stitch length of 1.4 mm.If you've never done an applique before, you'll probably want to practice with some scraps before you work on your shirt. Just stitch a little bit until you get the hang of it. And remember, it doesn't need to be perfect. No one is going to be examining the stitches on your son or daughter's T-shirt!
For my machine, I align things so that the applique part is on the right side and the plain T-shirt is to the left. Make sure you don't have any shirt bunched up underneath your needle! On my machine, I line up the edge of the applique with the center little line on the foot of my machie. That puts the outer edge of the applique stitch right on the edge of the applique, with the zig-zags going to the right, into the fabric of the applique, which looks very neat and tidy!
Start on a straight edge to help you get in the groove, then just slowly zig-zag all the way around your number. Trim all your loose threads.
Tear away stabalizer
After you're done, flip your shirt inside out and gently tear away the stabalizer, both inside and outside the number. You may have a few little pieces left within the stitches. That's fine-- they'll eventually work their way out in the wash, and haven't bothered my daughter or any of our T-shirt recipients.


